
Hello there 〜〜I'm back \(^^)/
Its been a while since my last post.💦
And now, I just want to share
that I'm so happy and
thrilled to be on Crafts Dreamy
as Guest Designer for this month's challenge .
I thought this month's mood board ,
portrays a vintage Autumn .

Lucky me, I was motivated by
this cute digital image which
I've been holding for so long. lol🤣
And this is my project, a new page for my 6x6 Art Journal !
Please scroll down to see how I made it.


2. I adhered the scraps of paper randomnly on my base and applied Gesso all over then dried with the heat gun.

3. I built up my background colors with DI Shaded Lilac and Seedless Preserves.
I also did some stamping with Archival Inks Magenta Hue and Jet Black.
Then I applied modelling paste through stencil.

4. Extra tip, when drying start at the back first then carefully dry the front.
Me, I like to heat dry till it bubble up, mind you, the textures are awesome!
Just be careful not to burn your fingers,Ok.

5.And then,I started my composition.I adhered my focal point, embellished the page with tags,raffia strings and add my faux leather flowers.


I heat it up till it warps up ( be careful not to burn yourself lol !! )

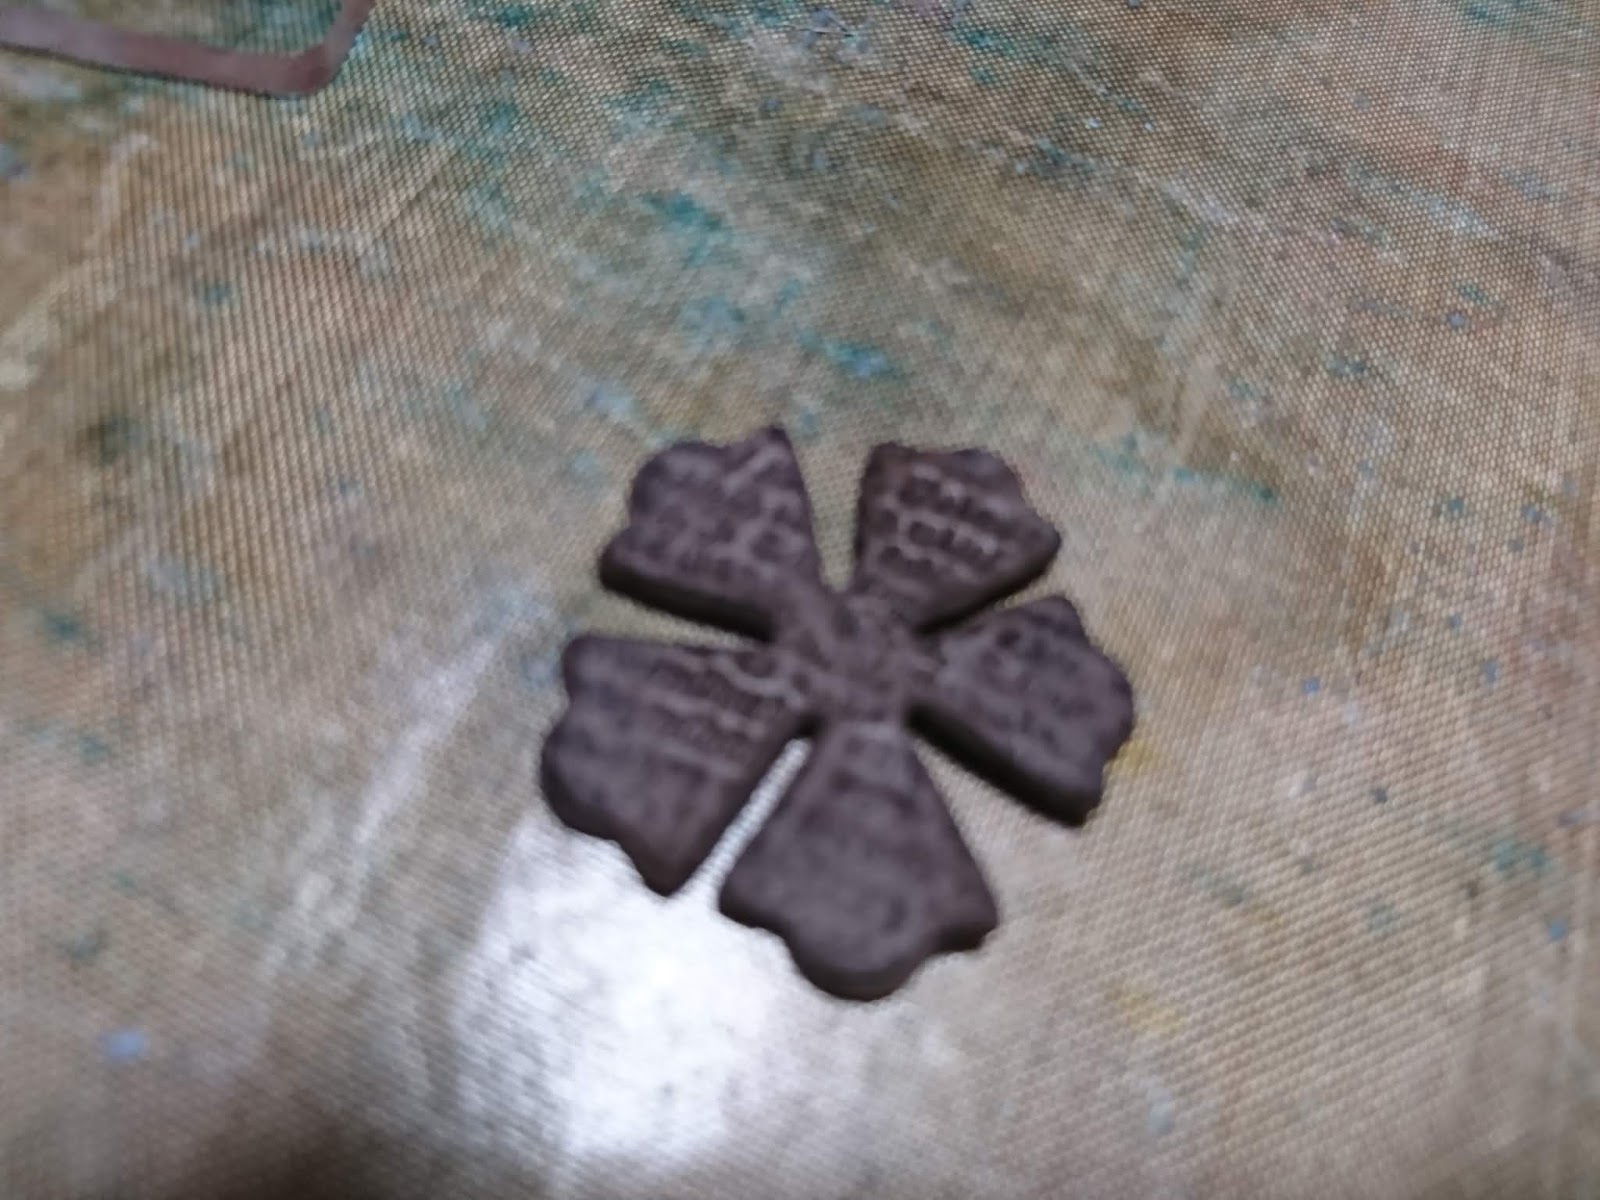
While its all warping up, I stamped my text stamp, making sure all the petals are flat and hold for about 2 to 3 seconds .

Just see how the stamped text appeared so clearly on that perfect leather look!


Rubbing on some Prima Waxes to finish it up. Isn't that cool??

Well , that's all peeps !! Thank you for dropping by ~~~~
Its been a while since my last post.💦
And now, I just want to share
that I'm so happy and
thrilled to be on Crafts Dreamy
as Guest Designer for this month's challenge .
I thought this month's mood board ,
portrays a vintage Autumn .

Lucky me, I was motivated by
this cute digital image which
I've been holding for so long. lol🤣
And this is my project, a new page for my 6x6 Art Journal !

- First, I tear around the digital image,tear scraps of design paper and inked the edges of the image with DI Vintage Photo.


I also did some stamping with Archival Inks Magenta Hue and Jet Black.
Then I applied modelling paste through stencil.

Me, I like to heat dry till it bubble up, mind you, the textures are awesome!
Just be careful not to burn your fingers,Ok.


6.Finally, I colored the Digital Image with DI Crushed Olive,Spun Sugar and Worn Lipstick and did some accent stenciling over it. To finish it up, I inked the edge with black acrylic paint and add white enamel accent here and there.

Bonus tip: This is how I made the Faux Leather flower.
I die cut the flower from a Fun Foam and inked up my text stamp.


Well , that's all peeps !! Thank you for dropping by ~~~~
Oh how fabulous, I truly love this along with the super cute vintage image. The faux leather flowers are fab too! thank you so much for being our Guest Designer over at Crafts Dreamy, hugs zowie xx
ReplyDeleteLikewise,Zowie😊 thank you for this beautiful mood board and for your patience in teaching me what to do (blog related stuffs aren't easy ) 😅💦
Delete